
The exact End of Abyss progression chain: three power cores, three SCU overrides, the Central Elevator to Lower Levels, and every keycard on the way.
End of Abyss SCU Order and the Central Elevator Route
The mid-game objective runs in a fixed order: bring the Reactor Core online with three Power Cells, override three SCUs (Factory West, then Waterworks, then Containment Sector), then ride the Central Elevator on Factory East F1 down to the Lower Levels. Only the elevator needs all three, but each override is gated by one specific item, and those gates are where players get stuck. Checked against the launch build on October 3, 2026.
| Step | Where | What you must already have | What it opens |
|---|---|---|---|
| Power the Reactor | Reactor, below Factory East | Factory Keycard | Power for every SCU override |
| SCU 1 | Factory West | Mechanical Crank, Explosive Charges | First of three overrides |
| SCU 2 | Waterworks | Operations Key | Drained pool, entry to Containment Sector |
| SCU 3 | Containment Sector | Radiation Protection Suit Mod, Grappling Hook | Third override, elevator unlocked |
| Central Elevator | Factory East F1 | All three SCUs | Lower Levels, Mainframe on B3 |
| Neural Chamber | Lower Levels, F1 down to B1 | Level I Access, Incinerator | Access card for the final section |
Step 1: Power the Reactor With Three Power Cells
The reactor refuses to start until three Power Cells on the lower levels are active. The Xbox Wire hands-on frames the same beat as finding and activating three power cores to bring a reactor back online.
Official source: End of Abyss: I'm the Little Nightmare, and You're Locked in Here With Me — Xbox Wire, June 19, 2026
Take the Factory Keycard from the ground at the end of a short Factory East path, use it on the door below the Save Room, and follow the scaffolding north into the Ventilation Tunnels. The GameRant full walkthrough has the room-by-room turns. Grab the Grenade on the way and save before the core.
At the Reactor Core Controls the startup fails on power. Drop to B2 behind the reactor and activate the Power Cells on the east and west sides of the floor. The elevator near the western cell goes down to B3, where a lockdown encounter in the southwest corner needs clearing. An enemy bursts up through the floor and opens a hole; drop through and use the Security System Terminal in the room north of the fight to unlock the security doors. Back on B2, the final Power Cell sits in the middle room, guarded by the Centipede Husk. Return to the controls and the reactor comes online.
Step 2: The Factory West SCU and the Two Energy Cells
Soldier E-19 hands you the new objective in Factory East: override three SCUs and unlock the central elevator. Go west, but detour into Maintenance first — the Mechanical Crank is in the northwest corner, and the Large Item Box in the room with the Sealed Hatch holds an Energy Cell.
Take the second one too: bridge east out of the SCU room and blast two weak walls with Explosive Charges, one just southwest of the bridge and one in the southwest corner of the small room behind it. Both guides call that capacity mandatory — four Suit Power is what lets you wear the Radiation Protection mod two SCUs later. Suit Power and Energy Cells covers what the slots do.
The crank opens Factory West's bridges. An Energy Node Door takes three Scanner nodes, and two more charges break a weak wall and a weak floor. The floor drops you past the Security Sentinel and into the Factory West SCU.
Point the Scanner at the wall and the attached nodes light up; shoot all three and the lock drops. Two nodes in the Outer Sector tutorial, three in Factory West, three again at each Release Protocol later. How the Scanner finds hidden paths covers the pattern.
Step 3: The Waterworks SCU and the Operations Key
Enter from Factory East heading east past the Central Elevator, dead at this stage, and drop down the ladder on the far side. Cross the fast-moving water northeast, climb out, and work east past the Pump System Operations Manual note to an extendable bridge.
The gate is the Operations Key, on a workbench in the small room through the door northeast of the metal walkways. It unlocks a door southeast of those walkways and the ladder down to the Drowned Husk. Kill the boss, then use the terminal beyond it to stop the moving water at the start of the level. Only now can you walk north through the corridor, ride the elevator, and override the Waterworks SCU.
Step 4: The Containment Sector SCU and the Radiation Mod
Two things are true here and players plan for one: the sector drains your health continuously until the Radiation Protection Suit Mod is equipped, and that mod is not in the sector — it sits in Factory East B2 behind the Basement Keycard, so you cross irradiated rooms to leave and fetch it.
IGN's reviewer described it as an unannounced constant drain that only made sense after finding the mod, and said the fix left nothing but relief, taking the discovery out of the moment. That is the mechanic, not a difficulty spike. See the IGN review.
Take the Basement Keycard from the ground beside the extendable bridge at the western end, extend it, and climb down through Factory East to B2. The card opens a room with a lockdown encounter; the mod is on the ground in the small room to its west. Come back and equip it at the Restoration Pod.
Inside the sector you pick up the Grappling Hook from a table past a lockdown encounter, then use it on anchor points, levers, ladders and bridges for most of the floor. Drop through the hole in the floor of the Isolation Cistern for the Radiation Host, take the door east, descend the ladder, and override the Containment Sector SCU. Ride up and take the shuttle from the southeast corner of F2 to Factory East. All seven shuttle stations covers which zones the network reaches.
Step 5: The Central Elevator on Factory East F1
With the third override done, return to the Central Elevator on F1 — the same shaft you walked past on the way to the Waterworks, now unlocked. Speak to Soldier E-19 and ride down. This is the only gate in the chain needing all three.
Below, the Unknown Signal objective leads to the Mainframe on B3. Two Release Protocol switches follow, each behind an Energy Node Door, and the second needs the Utility Tunnels Key found on a body down on B4. The Neural Chamber branch starts at the elevator in the southeast corner of B3: up to F1, across, down to B2, then down a ladder on the west side for the Level I Access card. Pick up the Incinerator on the path, burn through the Parasitic Growth on the north wall, kill the Failed Experiment, and take the access card from the room to the west — the Neural Chamber Access card in GameRant, the Creation Project Access Card in ShowGamer's walkthrough. That card opens the door to the Fractured Being.
Every Key and Keycard on This Chain
| Item | Where it is | What it opens |
|---|---|---|
| Worker Access Keycard | Habitation Sector F1, on the floor past the ventilation shaft | the door north to the Communication Center |
| Factory Keycard | Factory East, end of a short path near the reactor section | the door below the Save Room, and the reactor run |
| Operations Key | Waterworks, workbench in the small room northeast of the metal walkways | the locked door southeast, then the ladder to the Drowned Husk |
| Basement Keycard | Ground beside the extendable bridge at the Containment Sector's west end | the Factory East B2 room holding the Radiation Protection mod |
| Utility Tunnels Key | Lower Levels B4, on a body | the route to the second Release Protocol switch |
| Level I Access | Lower Levels B2, bottom of the ladder on the west side | the north door onto the B1 route to the Neural Chamber |
| Infirmary Access Keycard | Room south of the Incinerator on Lower Levels F1 — burn the floor growth and it appears | the Infirmary on B1, where the Particle Disruptor waits behind a Restricted Access Keycard |
| Neural Chamber Access card | Room west of the Failed Experiment | the door past the Neural Chamber, on to the Fractured Being |
The Three Gates That Actually Block Players
Waterworks needs the Operations Key, and the water comes off in two stages. Stopping the corridor flow happens at a terminal only reachable after the Drowned Husk. Emptying the pool you are meant to descend into is a separate three-terminal job on B3: lower the first barrier, cross its top, hit the upper terminal to drop a second, then return and raise the first to drain the pool. Do only the first and you face a full pool with no way down.
Containment Sector needs the Radiation Protection Suit Mod before the deep floors. You cannot start the traversal while the drain is eating you, and the mod is in another building.
The Neural Chamber needs the Incinerator for the Parasitic Growth. Nothing else clears it, and it is picked up only a few rooms before the wall.
Bosses Sitting on This Chain
| Boss | Position in the chain | What clears it |
|---|---|---|
| Husk Cluster | Habitation Sector, guarding the first shuttle station | Shuttle unlocked to Factory East |
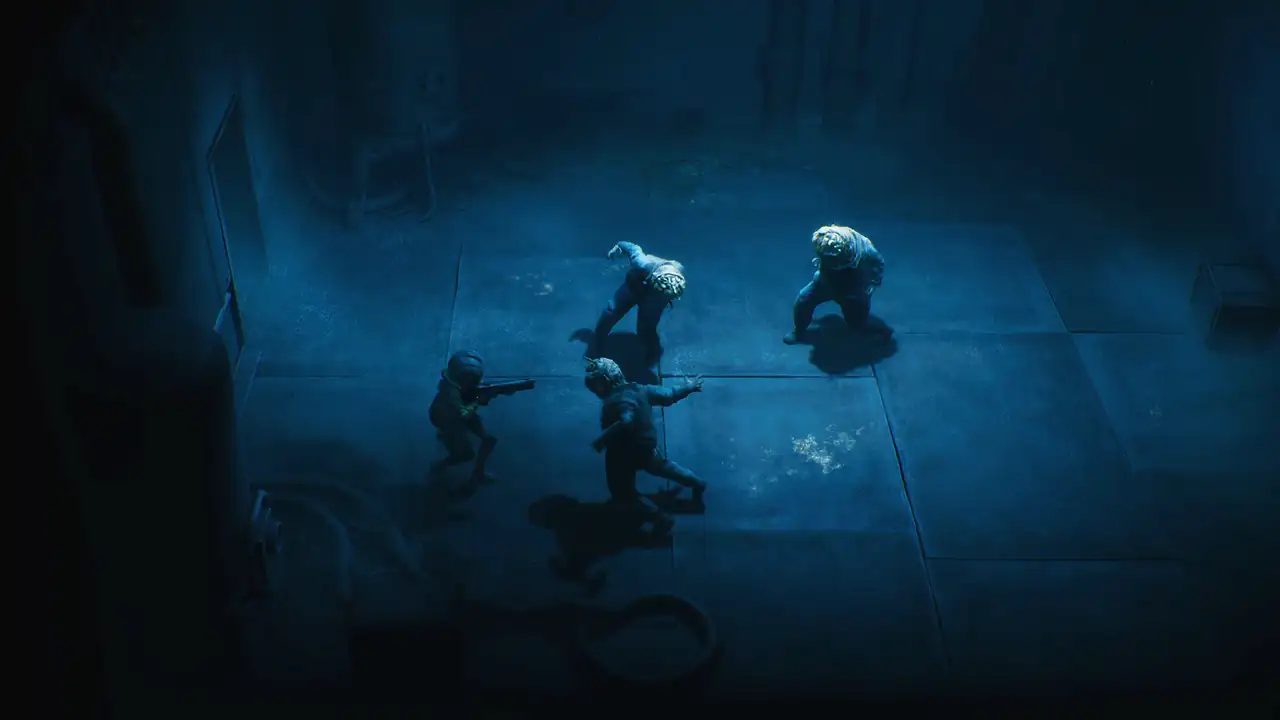
| Centipede Husk | Reactor B2, on the third Power Cell | Reactor Core powers on |
| Security Sentinel | Factory West, past the second Explosive Charge | Path to the first SCU |
| Drowned Husk | Waterworks, before the water terminal | Water flow stops |
| Radiation Host | Containment Sector, Isolation Cistern | Path to the third SCU |
| Failed Experiment | Behind the Parasitic Growth | Neural Chamber access card |
| Fractured Being | Past the Neural Chamber card | End of the documented chain |
Both launch walkthroughs stop at the final-boss doorway without a strategy for it. The optional Brood Keeper sits off this chain entirely. All seven named bosses has what each is worth first.
FAQ
Do I have to do the three SCUs in this order? The elevator is the only gate that needs all three, and neither walkthrough tests another order. This one works because each SCU hands you the next: the Factory West Energy Cells give you the mod slot you wear in the Containment Sector, and the drained Waterworks pool is the way in.
Where exactly is the Radiation Protection Suit Mod? Factory East B2, in the small room west of the one the Basement Keycard opens. You take radiation damage crossing the Containment Sector to reach the ladder out.
Can I skip the Waterworks water puzzle? No. The corridor flow and the pool are separate gates, and the pool is the only documented route into the Containment Sector.
I am missing a key and cannot progress. Work it by symptom on the stuck and locked-door page, or check areas and floors for which level you are on.
Can I make Explosive Charges if I run out? Yes, at workbenches inside Save Rooms, so spending your last one cannot soft-lock you.
Related Guides
- End of Abyss Bosses: All 7 Named Bosses — where each boss on this chain waits and what to bring.
- End of Abyss Suit Power and Suit Mods — why the two Energy Cells before the first SCU are mandatory.
- End of Abyss Map and Areas — floor-by-floor landmarks for B1 through F3.
- End of Abyss Fast Travel Shuttle Stations — the seven stations and the gaps in the network.
- End of Abyss Scanner Guide — Energy Nodes, hidden paths and map filling.
- End of Abyss Weapons List — where the Incinerator sits and why it is not optional here.
More End of Abyss Guides
End of Abyss spawns random invisible walls and a map that marks open doors as locked. What each bug looks like and how to get past it.
Every End of Abyss area and floor in one table: Outer Sector, Habitation, Factory East and West, Waterworks, Containment Sector, Lower Levels.
End of Abyss PC is Epic Games Store only. How to install and run it, which settings actually exist, and the answer on co-op and Steam.
End of Abyss scored 8, 90 and 6 across Shacknews, GamingTrend, GameSpot and IGN. What they all agree on, where they split, and who should skip it.
The End of Abyss scanner is on the d-pad and it gates progression: it reveals Energy Nodes that open locked doors, hidden paths, and the map itself.
End of Abyss never explains itself. Who Cel is, why she was sent underground, and what the parasite, the crew and the notes actually tell you.
Missing a lever you already walked past? End of Abyss buries progression in dark multi-floor rooms. A symptom-to-fix table for the common softlocks.
How End of Abyss Suit Power works, where Energy Cells raise it, and which Suit Mod you need to survive radiation. The gate is your suit, not your damage.